
Open concept main levels may seem to be all the rage right now, but this trend isn't going anywhere. It suits the way we live our lives - shared across several rooms. Open floor plans just make sense, especially when it comes to furnishing and the natural flow of traffic.
But what does it take to create one if you don't have one yet?
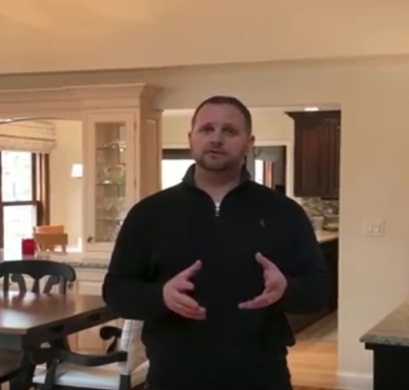
Catch a behind-the-scenes view of what goes into remodeling a main level to create an open floor plan.
Prep Day:
Before we dive into the actual renovation, we start with a preparation day. This day consists of setting up any protection that they home may need from the project. Generally, this includes:
- setting up a dust barrier
- floor protection
- zipper doors
This particular client reached out to us having lived in their home for a number of years. They inquired as to how they can go about removing a support post in their living room that currently disrupts their otherwise open floor plan main level.
Removing existing structural elements requires a few tricks that we're excited to share throughout this behind the scenes look at remodeling for an open floor plan.
Ready For Steel
Once the project is at the point where all interior finishes have been stripped, we can dive into the next set of challenges. The exterior wall has been opened up, insulation has been removed, and that allows us to be ready for the steel to be added.
When removing a structural post, we must be sure that any weight-bearing structures be supported. The posts within the wall will be completely concealed in the drywall. In this particular project, we have opted for a steel beam that will be wrapped in oak upon project completion.
Post Removal
Now that the steel has been implemented, we are ready to remove the center post that has been interrupting a true open concept for this family.
The steel itself is bolted together, and then it is blocked so that it can be wrapped in oak for the finishing process. At this point, the insulation is put back into the walls, the walls can be closed back up with drywall, and then the final update is to patch the hole in the floor where the post once was.
Completion Day
In the end, we are left with a true open floor plan that this family can enjoy for years to come. While the project itself didn't take long to complete, it's always exciting when completion day is here! Now the family can celebrate their new open floor plan.
If you're curious to see more behind the scenes projects, be sure to follow us on Facebook, Instagram, or YouTube!
